Embroidered Logo Too Small? Minimum Text and Line Size Explained
Use practical embroidery text and detail limits, then test thread, digitising, fabric and logo size with a physical sew-out before production.
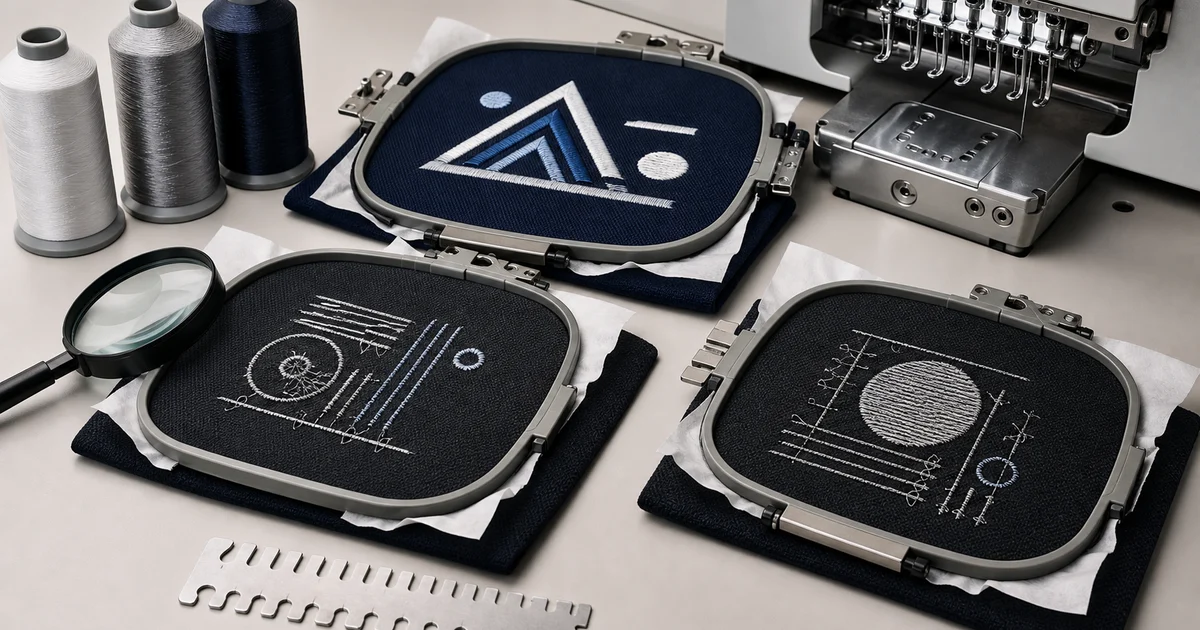
The short answer: there is no universal minimum that suits every embroidered logo. For standard 40-weight thread, use about 6–7 mm capital-letter height as a practical starting point, then approve a physical sew-out. Smaller text and finer lines may require a purpose-built embroidery font, thinner thread, the correct needle, specialist digitising and a more stable fabric.
Do not shrink a print logo until it fits the polo. Embroidery rebuilds artwork as stitches, and each font has its own working range. Wilcom warns that scaling embroidery fonts below their recommended minimum can make stitches too dense and messy; its font guidance uses 3 mm lettering as an example of an unsuitable reduction.
Practical starting limits for a buyer
| Logo feature | Practical starting decision | What must still be tested |
|---|---|---|
| Capital letters with standard 40-weight thread | Aim for at least 6–7 mm high | Font, fabric texture, spacing, thread and sew-out clarity |
| Text below 6 mm | Treat as specialist work, not a standard promise | Finer thread, matching needle, dedicated font and digitising |
| Lowercase letters | Allow more overall height because x-height is smaller | Small counters in a, e, o and similar shapes |
| Thin outline or rule | Do not use a universal software hairline | Stitch type, narrowest column, direction and fabric support |
| Small negative gap | Enlarge or simplify before it closes | Push-pull, density, underlay and final garment |
| Tiny tagline | Remove it, enlarge the logo or use another decoration method | Brand approval and normal viewing distance |
Madeira’s embroidery catalogue states that standard 40-weight thread has an absolute lettering minimum around 6–7 mm, while 60-weight thread can reduce that to about 3 mm. Those figures are thread-specific benchmarks—not a guarantee that any font, logo or polo will work at that size.
Why can a print logo fail when embroidered?
A vector or PNG can show hairlines, tiny gaps and smooth gradients using pixels or ink. An embroidery machine must form those features with thread that has physical thickness, needle penetrations and a stitch path.
At small scale:
- letter counters can close;
- nearby strokes can merge;
- sharp corners become rounded;
- short stitches can damage or perforate fabric;
- outlines can shift relative to fills;
- thread can sink into pique texture; and
- dense areas can pucker the garment.
The answer is often to create an embroidery-specific logo version, not to add more stitches. Wilcom’s scaling guidance confirms embroidery files are not infinitely scalable because stitch construction changes with size.
Use letter height as a starting point, not a promise
Measure the actual capital height, not the invisible font box around it. Lowercase letters may be much shorter than capitals at the same software size. Wilcom’s font documentation notes that lowercase characters can be about 70% of capital height and may become too small even when the nominal setting appears acceptable.
For a small company tagline:
- type the exact wording in the intended case;
- identify the smallest character, not only the first capital;
- test counters such as a, e, o, 6 and 8 if present;
- check spacing between narrow letters; and
- view the sew-out at normal chest-logo distance.
If the tagline is not readable without close inspection, removing it from the embroidered version is usually cleaner than forcing it into the stitch file.
Do not define thin lines with one universal number
An artwork line is not automatically one satin stitch. The digitiser may convert it to a running stitch, a narrow satin column or another stitch type. Each responds differently to thread thickness, direction and fabric.
Instead of asking “Can you embroider a 0.5 mm line?”, ask the supplier to mark:
- the narrowest column in the digitised file;
- any line converted to a running stitch;
- gaps likely to close;
- details omitted or thickened;
- the planned thread weight; and
- the fabric and backing used for the sew-out.
Approve the visible result, not only the artwork measurement. A line that works on smooth woven fabric may sink or break up on a textured polo.
When does finer thread help?
Finer thread can produce smaller lettering and detail, but it changes the complete production setup. Madeira recommends 60- or 75-weight thread for fine detail and states that the design must be digitised for that thickness, with a suitable smaller needle and adjusted tension.
Ask whether the supplier actually stocks the required thread colour and regularly runs that setup. Finer thread may sew more slowly and is not a reason to skip testing. If only one tiny tagline needs specialist thread, compare the cost and risk with enlarging or removing it.
For a standard corporate left-chest logo, simplification is often the more repeatable choice across multiple polo sizes, reorders and factories.
Match digitising to the polo fabric
Pique, microfiber, cotton interlock, fleece and woven shirts do not hold stitches in the same way. Textured or loose knits may need topping so fine stitches do not sink, while thin stretch fabric needs suitable stabilisation to avoid distortion.
Madeira’s small-lettering guidance specifically recommends a stitched foundation and water-soluble topping for small lettering on polo or T-shirt fabric. The supplier must choose the final combination for the exact garment.
Never approve a sew-out on generic felt if the production garment is a lightweight microfiber polo. Use the same model, colour and fabric; the corporate polo material guide helps you specify it.
Simplify the logo without losing recognition
Prepare a separate embroidery master that keeps the recognisable elements while removing detail the process cannot reproduce cleanly. Possible changes include:
- removing a tiny legal suffix or tagline;
- opening narrow gaps;
- thickening essential outlines;
- converting gradients and shadows into solid colour areas;
- reducing closely spaced thread colours; and
- enlarging the complete logo within the approved placement.
Do not let a supplier redraw the brand without approval. Compare the embroidery version with the master logo, then record which elements were intentionally changed.
The logo placement guide helps determine available space, while the logo print-size guide explains full-size paper proofing. Embroidery still needs a stitched sample after those layout checks.
Approve a physical sew-out and keep it
The sew-out should use the production thread, backing or topping, stitch file and intended garment. Inspect it flat and worn under normal light.
Check:
- every required letter is readable;
- small gaps remain open;
- outlines meet their fills;
- no loose loops or thread nests appear;
- the fabric stays flat around the logo;
- backing does not create unacceptable discomfort; and
- the approved dimensions and thread colours are recorded.
Keep the sample, job number, stitch-file version and thread references for repeat orders. Do not assume a file can be resized later without redigitising.
Send an approval-ready embroidery brief
Provide the original vector logo, intended finished width, garment model, fabric, colour, position, quantity, deadline and required tagline. Ask the supplier to quote digitising, sew-out, per-piece embroidery and any finer-thread setup separately. The Malaysian embroidery cost guide explains these price components.
You can compare Malaysian embroidery suppliers with one brief or browse suppliers by state. Authorise production only after the final sew-out is readable on the selected garment.
Frequently asked questions
What is the minimum letter height for logo embroidery?
There is no universal minimum for every font and fabric. With standard 40-weight thread, 6–7 mm capital height is a practical manufacturer-backed starting point; smaller lettering may require a purpose-built embroidery font, finer thread, matching needle and specialist digitising.
How thin can an embroidered line be?
There is no safe universal line-width number because the stitch type, thread, needle, fabric and direction all matter. Ask the digitiser to identify the narrowest stitch column and approve a sew-out on the exact garment before production.
Can a detailed logo be simplified for embroidery?
Yes. Small taglines, fine outlines, gradients and tiny gaps can be removed, enlarged or converted into clearer shapes while the main brand identity is preserved. Approve the simplified embroidery version separately from the print logo.
Is a digital embroidery preview enough for approval?
No for a small, detailed or unfamiliar logo. A screen preview cannot prove whether letters stay open, thread sinks into pique, fabric puckers or fine gaps close, so approve a physical sew-out on the intended fabric.
Ready to compare suitable printers?
Get 5 Free Quotes