
Common DTF Printing Problems and How Buyers Can Prevent Them
Identify DTF peeling, white outlines, banding, powder residue, colour shifts and press marks before approving a Malaysian shirt order.
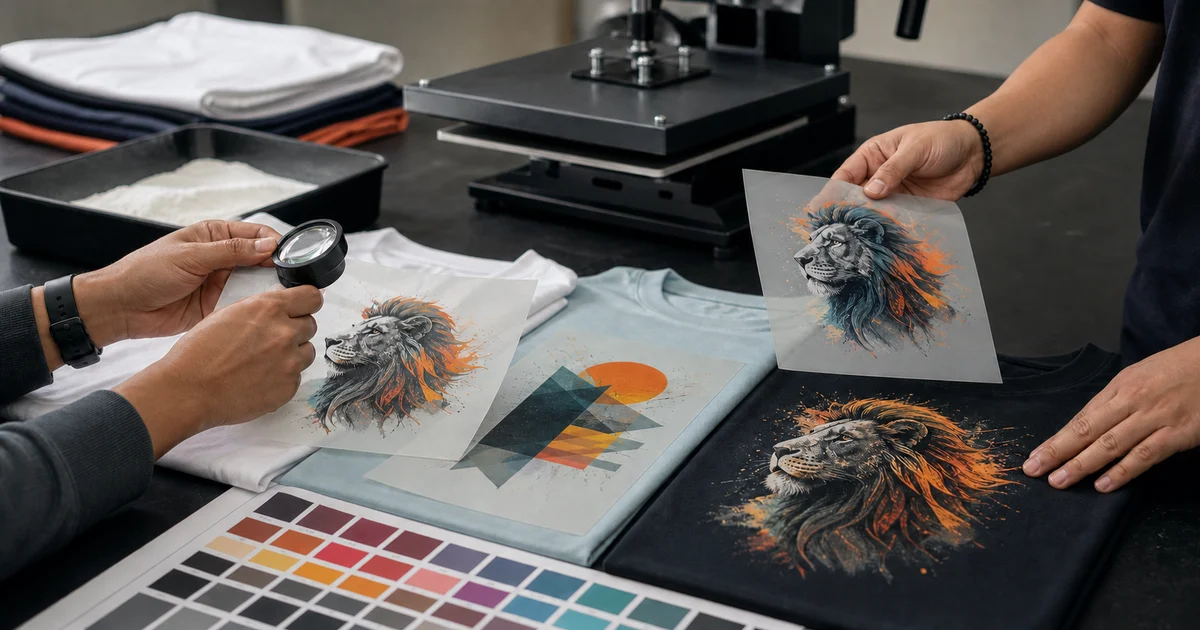
The short answer: prevent most avoidable DTF problems by approving a final-size sample on the actual garment, not only a digital mockup. Check its edges, white backing, detail, colour, surface, press marks and initial adhesion, then ask for a wash-tested reference before bulk production.
DTF is a multi-stage process: the image and white layer are printed onto film, hot-melt powder is applied and cured, and the transfer is heat-pressed onto the garment. Roland DG’s official process summary shows why a defect at any stage can affect the finished shirt.
This guide helps buyers recognise warning signs and write a safer approval brief. It does not replace the transfer manufacturer’s settings or the printer’s production testing.
DTF problem checklist for buyers
| What you see | What it may indicate | What to approve or ask |
|---|---|---|
| Edge lifting or weak adhesion | Incomplete bonding, uneven heat or unsuitable application settings | Sample on the exact garment, edge check and wash test |
| White outline around colour | White-layer registration or artwork fringe issue | Close-up proof on the real shirt colour |
| Lines, grain or missing detail | Printing, nozzle, RIP or source-artwork issue | Final-size physical sample, not an enlarged screen preview |
| Loose powder outside the design | Powder remaining in transparent areas | Clean film edges and clean finished fabric |
| Unexpected colour or weak white | Screen-to-print variation, profile or white-density issue | Physical colour reference and approved sample |
| Heavy or stiff print | Large solid ink-and-adhesive coverage | Test the real print area and consider breaking up large blocks |
| Glossy box, seam mark or scorching | Heat, pressure or platen contact affecting the garment | Test on the exact shirt model, colour and print position |
One symptom can have several production causes. Buyers should record the visible acceptance standard instead of prescribing a temperature or pressure without knowing the supplier’s film, powder, ink and garment combination.
Check for lifting before it becomes peeling
Pay attention to corners, narrow strokes and fine tips. They should lie flat after the transfer has cooled according to the supplier’s process. Gently flex the test area; do not aggressively stretch a fresh sample as a substitute for a proper wash test.
Heat-transfer settings are not universal. STAHLS’ heat press operating guidance explains that temperature, time and pressure must follow the transfer and garment requirements. Its heat press test guidance also notes that uneven heat or pressure can leave sections and edges unbonded.
As a buyer, ask the printer to confirm:
- the sample uses the same shirt model and fabric as the bulk order;
- seams, zips, buttons or collars do not prevent even platen contact;
- the intended transfer system has been tested on that garment; and
- the quoted care instructions will be supplied with the order.
For a deeper guide to care after delivery, use the printed-shirt washing guide.
Look closely for a white halo or coloured fringe
DTF normally prints a white backing layer beneath the colour image. On a dark shirt, poor alignment can show as a white outline. A different fringe can come from artwork exported with pale pixels around its edge.
Inspect the design on the final shirt colour at normal viewing distance and close up. Check especially:
- small text and thin strokes;
- hair, smoke, distressed textures and soft shadows;
- transparent PNG edges;
- separate design elements with narrow gaps; and
- areas where a light colour meets dark fabric.
The printer may correct the white-layer settings, while an artwork fringe may require a cleaner source file. Send the original artwork rather than a screenshot; the t-shirt artwork guide explains the file checks.
Reject banding, grain and missing fine detail
Fine horizontal lines, uneven solids, grainy white or missing parts should be resolved before the run. STAHLS’ current DTF quality checklist specifically tells buyers to look for banding, stippling, grain and out-of-registration white ink.
Judge detail at the finished print size. A design that looks clean when enlarged on a monitor can close up or disappear when printed as a small chest mark. Ask for one real transfer or shirt sample when the artwork contains very small lettering, distress texture or fine lines.
Inspect transparent areas for excess powder
Adhesive powder should support the printed image, not leave visible grit around it. Inspect gaps inside letters, open areas between design elements and the fabric immediately outside the artwork.
Do not confuse intentional distress texture with contamination. Include a clean visual reference so the operator knows which dots belong to the design. If the artwork deliberately uses scattered particles, approve a physical sample because the smallest marks may behave differently from the screen preview.
Approve colour and opacity on the actual shirt
A phone image cannot prove how colour and white opacity will look on fabric. Shirt colour, fabric texture, print profile and white backing can all change the result.
For a brand-sensitive job:
- provide the intended colour reference;
- identify which element is most critical;
- approve a sample on the exact shirt colour;
- view it under neutral light; and
- keep that sample or a signed reference for the production check.
The Pantone, CMYK and RGB guide explains what each reference can and cannot control. Treat a screen display as a communication aid, not a physical colour guarantee.
Test print feel before approving a large solid block
DTF sits on top of the fabric. A small separated logo can feel very different from a full rectangular graphic using the same process. Large solid areas may feel warmer or less flexible because they cover more fabric.
If comfort matters for a Malaysian outdoor event or active uniform, test the final dimensions on the chosen shirt. Ask whether the artwork can use negative space, separated elements or a smaller coverage area without losing its meaning. The goal is not to make every DTF print feel invisible; it is to approve the feel before hundreds of shirts are produced.
Watch for heat marks on sensitive garments
Heat and pressure can change the surface of some performance fabrics or leave a visible press box. Raised seams and collars can also interfere with even pressure. STAHLS’ performance-wear handbook advises decorators to read the garment composition and use transfer settings appropriate to the material rather than assuming more heat is better.
Ask for a test on the actual model when ordering polyester jerseys, stretch fabrics, coated items or unfamiliar blends. Approve the print and the surrounding fabric—not only the artwork itself.
Use a three-stage approval
Keep approval simple and traceable:
- Digital proof: artwork version, size in centimetres, position and shirt colour.
- Physical sample: edge quality, white alignment, detail, opacity, feel and heat marks.
- Production check: the first finished pieces match the approved sample before the complete batch is packed.
For a repeat order, quote the previous job number but still confirm the garment model and colour. Stock, fabric finish or the production system can change.
Send a defect-prevention brief
Include the shirt model, fabric composition, colour, quantity, artwork file, exact print size, position, critical colour, sample requirement, wash-test request and acceptance deadline. Baju Printz lets you compare Malaysian printers with one quotation brief or browse suppliers by state.
The most useful question is not “Is your DTF good?” Ask what sample will be supplied, what it will be tested on and which visible standards you can approve before production.
Frequently asked questions
What should a good DTF print look like?
A good DTF print should have clean edges, an accurately aligned white layer, even colour, consistent adhesion and no loose powder in transparent areas. Its feel should suit the design coverage and garment rather than being unexpectedly brittle or rough.
Why does a DTF print have a white outline?
A visible white outline can come from misalignment between the colour image and white backing layer, or from artwork that contains an unintended light fringe. Inspect the final-size transfer on the actual shirt colour before bulk production.
Can a buyer prevent a DTF print from peeling?
A buyer cannot control the production settings, but can reduce risk by approving a sample made on the actual garment, asking for a wash test and confirming the supplier's care instructions. Adhesion depends on the complete transfer and pressing process.
Should I approve DTF from a digital mockup alone?
No for a large, colour-sensitive or unfamiliar order. A digital mockup confirms layout, while a physical sample reveals edge quality, opacity, print feel, press marks and adhesion on the real fabric.
Ready to compare suitable printers?
Get 5 Free Quotes